My Account
 Sign Out

You may once encounter such a situation: you search for several files or a particular one in your Mac but you fail to get them. They actually do not disappear from the drive but are hidden or even deleted so you cannot see them. What should you do? Look through this article and you will learn about the reasons and how can you see all files on a Mac hard drive.
Why can’t you see all files on a Mac hard drive?
There can be several reasons why your files do not show up on the hard drive. Generally, they include:
- The files are hidden intentionally or accidentally and you disable “show hidden files”.
- You clear leftover data or cache that is required for Mac to load files.
- There are errors in the file system that make you inaccessible to your files.
- The hard drive gets corrupt.
- The power supply is not stable.
- How to see all files on a Mac hard drive?
So how do we find missing files on the Mac hard drive? Let’s look at the different ways to view all your files on your Mac.
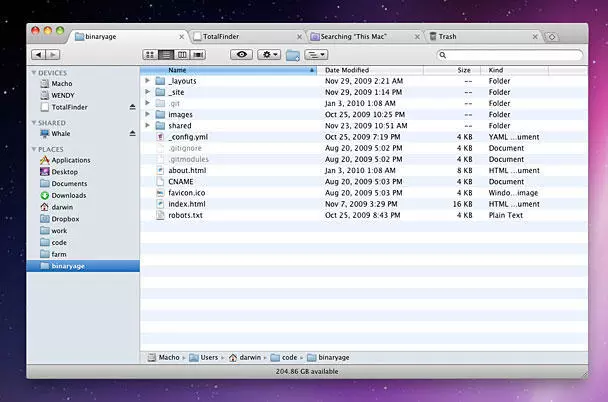
Use the Finder to make all files visible
The Finder is the so-called home base for your Mac because here you can access and organize everything on your device. You can see your hidden files easily through this tool.
- Open the Finder and go to the drive or folder that may contain your file.
- Simultaneously press the Command, Shift, and . (dot) keys (CMD+Shift+.) on your keyboard to show all the hidden folders and files.
- If you would like to hide the folder or file again, please repeat the last step.
- Use the Terminal to uncover hidden files
The Terminal is a command-line program on Mac that enables you to manage your Mac by using lower-level commands. To view hidden files on a Mac with command lines, please follow the following steps:
- Click on the Finder, choose “Applications” and then “Utilities”. Select “Terminal” to open it.
- When you are in the Terminal window, enter the command “defaults write com.apple.Finder AppleShowAllFiles TRUE” and then hit the Enter key.
- Next type the command “killall Finder” as the following picture shown, and press Enter. Now you will see all the hidden files revealed.
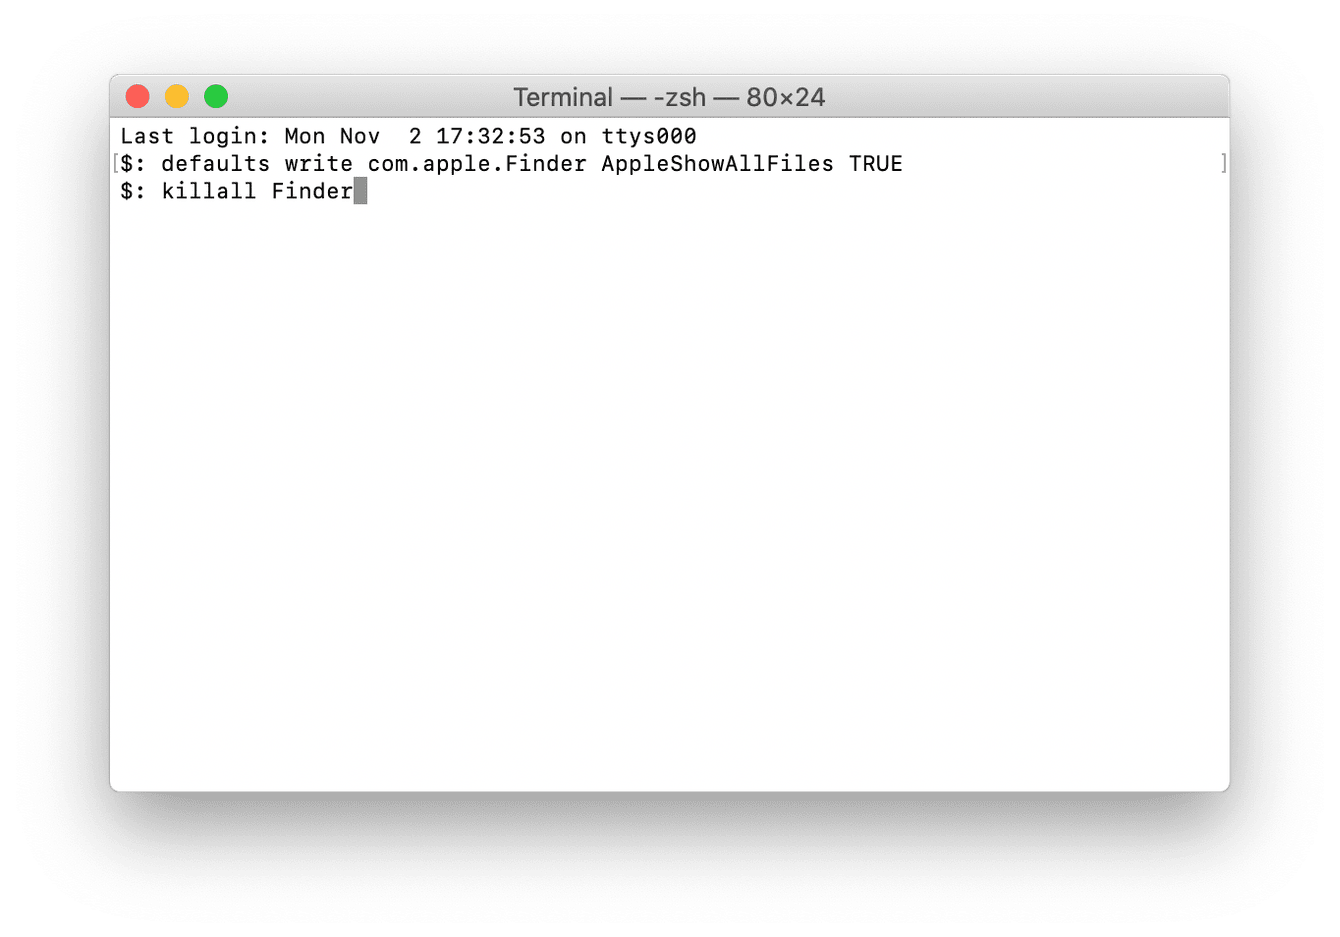
- If you want to hide the file again, follow the above commands but replace “TRUE” with “FALSE”, and then press the Enter button.
- Repair the drive on your Mac
Use the First Aid to view all files
A corrupt drive can be a reason for your unshown files on your Mac. If you are sure that your Mac hard drive is corrupt, you can fix it by employing an in-built disk repair tool called First Aid, which can inspect the disk for issues and errors and then repair it as required. But notice that the program is likely to cause some data loss when repairing the drive. You can apply data recovery software to check if your files are lost and then recover them. Below are the steps to use the First Aid:
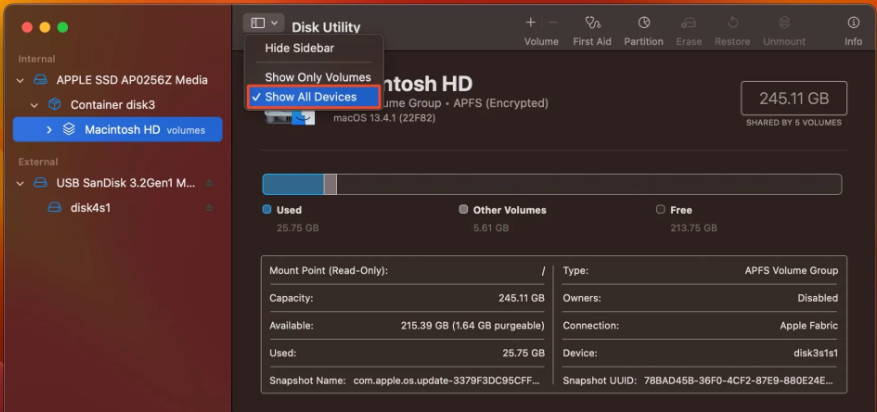
- Open the Finder, and choose “Applications”, “Utilities” and “Disk Utility” to enter the Disk Utility window.
- Click on the “View” option and select “Show All Devices”.
- Then select the disk you are about to repair on the left sidebar, click on the “First Aid” tab, and choose “Run” in the confirmation prompt to start the diagnosis.
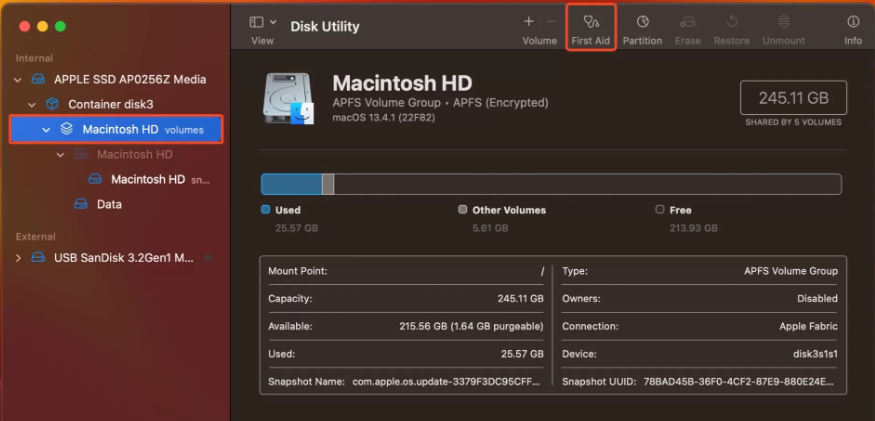

- The Disk Utility will give a pop-up to inform you whether the First Aid tool succeeds in repairing the drive.
How to recover deleted files on a Mac hard drive?
If you still fail to view the file you want after searching, it may have been deleted accidentally on your Mac. In this circumstance, there are other methods to help you get your file back.
Check the Trash tool on your Mac
Generally speaking, when files are deleted whether accidentally or intentionally, in fact, they do not really disappear on Mac. They are kept in the Trash tool until it is emptied. Thus you can take a look at it to find whether your file is there or not.
The trash tool is usually located on the far right side of your dock. Right-click on the bin icon and select the “Open” option. In the Trash, you can see a full list of files that you’ve deleted intentionally or accidentally since the last time you emptied it. If you find the file you are looking for, right-click on it and choose “Put Back”, and it will be returned to the original location on your Mac.
Recover with data recovery software
If unluckily your Trash tool was emptied before and you cannot find your files, you can consider using data recovery software to recover them. There are a lot of such professional products in the market now and here we take ONERECOVERY as an example.
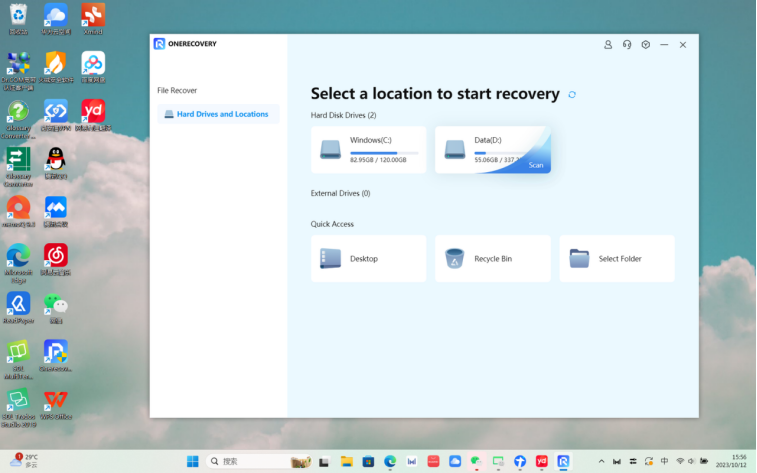
- Download and install the data recovery software from the official website.
- Launch the software and then click on the disk that once stored your file to start a scan.
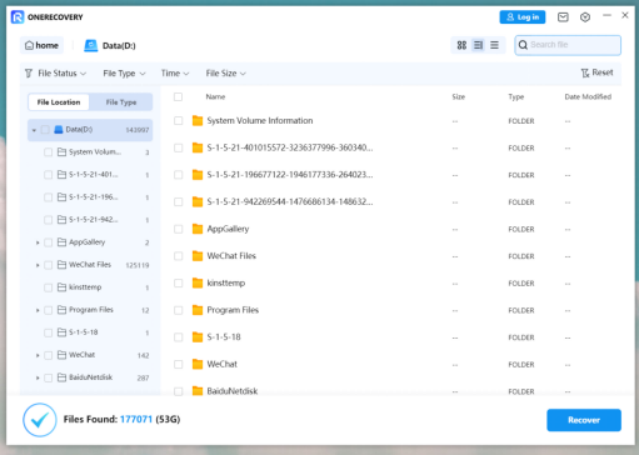
- When the scan is finished, click on “OK” and then the program will preview the recoverable data in the window for you to verify.
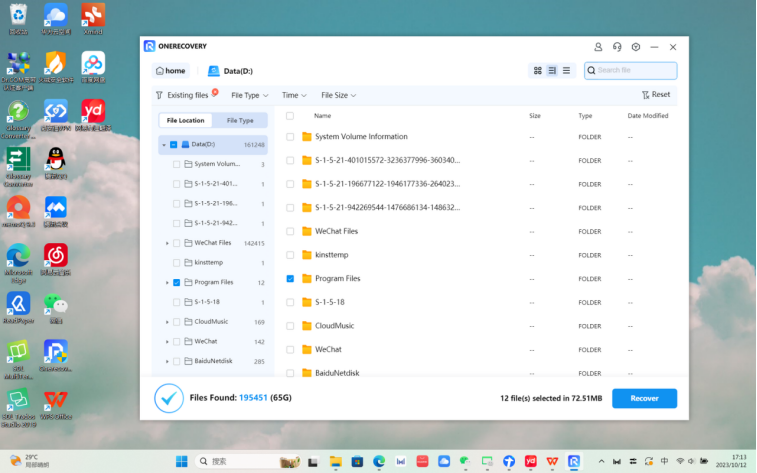
- Locate and select the file you are looking for and click on “Recover”.
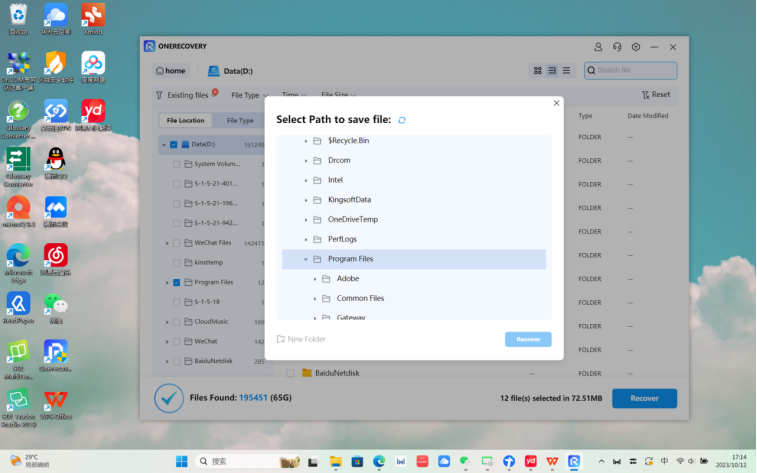
- Now the program will prompt you to select a storage path. Note that do not choose the same location to save your file. Select another disk, and choose “Recover” again.
- Conclusion
There are manifold reasons why you cannot view some of your files on your Mac hard drive. If they are just hidden for some reason, for example, because of the automatic file protection feature of Mac, it is easy to let them become visible once again. However, if the disappearance of your files results from being deleted accidentally or the corrupt system, you should try to get out of trouble with tools such as the First Aid tool or data recovery software. Besides, to make your files as secure as possible, it is recommended to create regular backups on a local storage drive.
I’m a tech enthusiast specializing in computer repair and data processing. Outside of fixing gadgets, I love penning articles on computer science. Currently, I’m diving deep into AI and data recovery tech. I’m all about staying on top of the latest in these fields. Excited to bring my passion and skills to the table and collaborate on cool projects!