My Account
 Sign Out

Last Updated Date: 4, Dec 2023
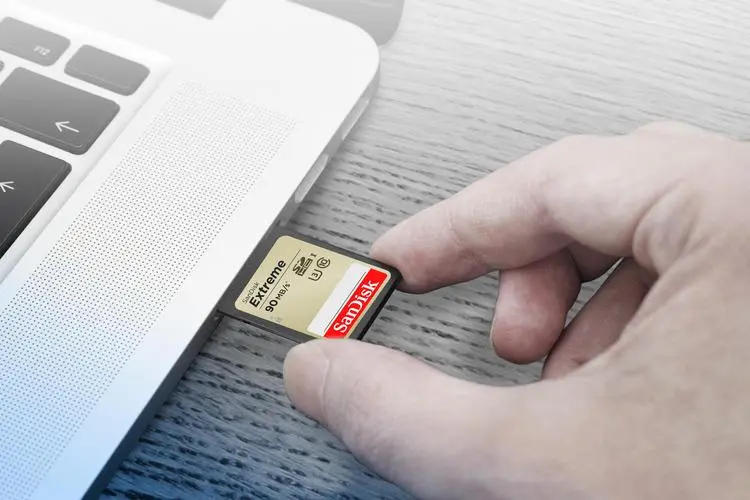
We use an SD card as a portable storage device to transfer files and store essential data. But it also happens that when we excitedly connect it to a computer, expecting joyful photos or videos, only to find the pictures and videos are inaccessible or never appear. What a pretty depressing experience.
The reason for an unreadable SD card is usually hard to diagnose in one go, so it’s wise to troubleshoot step by step to determine the most efficient and proper way to settle.
We summarize some typical scenarios for fixing an unreadable SD card and put forward the appropriate approach to protect your essential data and set you at peace. Keep reading and follow the instructions to rule out the factor and get the problem solved.
Does the SD card show up?
The first thing you need to figure out when you cannot access the data in the SD card is if the connection is smooth and if your SD card is detected by the computer successfully. If your SD card is correctly connected to the PC, it will appear in the “Folder Explorer” generally. So go to the Folder Explorer to check whether the connection is smooth when you can’t access the data in the SD card.
The SD card will connect successfully as long as there is a working USB port, an SD reader, and the SD card itself. If any of these components is inactive or malfunctioning, the connection will be broken, and it is expected that your SD card won’t be recognized if it is improperly connected to your PC.
How do you check the SD card in Folder Explorer?
1. Open the taskbar and pop in “Folder Explorer” or press the “Win” icon and “E” simultaneously to enter the Folder Explorer interface.
2. Scroll down to “This PC” and expand it.
3. Check whether your SD card is exhibited in the “Devices and Drives” area.

If your SD card doesn’t appear in the “Devices and Drives,” it indicates that your SD card fails to be read, probably due to a poor connection.
In this case, you should physically examine the devices to ensure a smooth connection first:
1. Change another USB port
2. Change a card reader if you use one
3. Use a cotton swab to clean the SD card
If you have already checked over but still can’t see the appearance of your SD card, another potential reason is that the computer failed to assign a correct driver letter to the SD card. The good news is you can manually create or change an SD card’s drive letter.
Follow the below steps, and you will find the process is more straightforward than you have imagined, even if you never get involved in computer technologies.
How to assign or change SD card’s drive letter?
1. Input “Disk Management” in the Taskbar, hit the Win+X keys, or right-click the Win icon
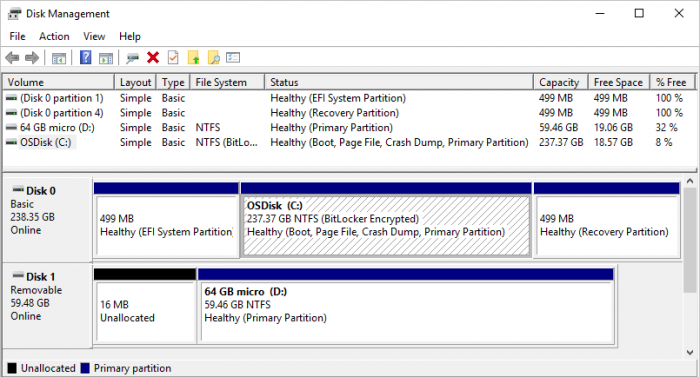
2. Select “Disk Management”
3. All the devices connected will be displayed. Find your SD card and right-click it.
4. Select “Change Drive Letter and Paths”

5. Choose a letter at the drop-down and click “OK.”
What’s the problem when the detected SD card is unreadable?
Still can’t open the files in the SD card even if it has been displayed on File Explorer? If so, try to update the driver.
Due to incompatibility, decreased performance, and limited functions, an outdated driver may be unable to read the SD card. You can operate to reinstall or upgrade the driver by the following steps:
1. Connect the SD card to the computer
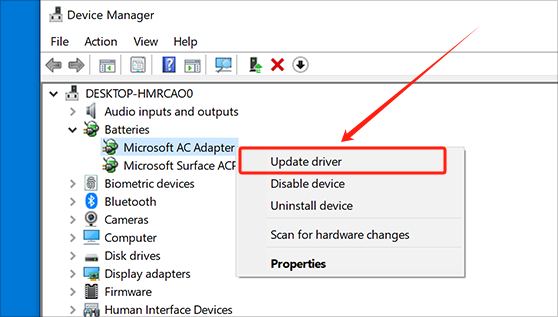
2. Right-click the Windows icon or press the Win + X keys
3. Select “Device Management” on the new menu
4. Find your SD card and right-click it
5. Choose “update device driver”
6. Select “Search automatically for updated driver software.”
7. You will be reminded to restart the computer to complete the update, or you can continue later.

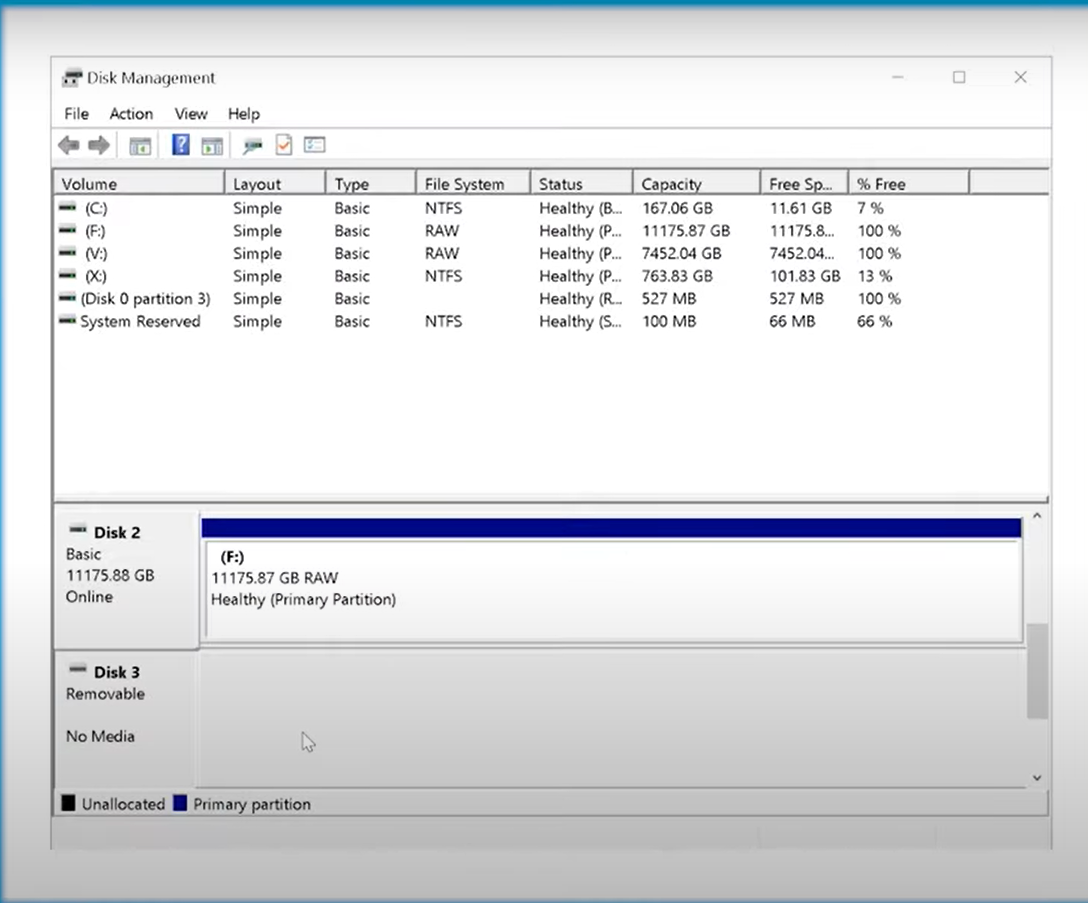
How to fix a corrupted/unreadable SD card?
If you have attempted all the above measures and still can’t get the files on the SD card, the problem here is serious because the SD card file system may be corrupted, RAW, or infected by a virus.
No matter which case, the only way is to repair the damaged file system. Yet, it’s better to back up the essential data before you begin the repair. Here are some methods to fix a corrupted SD card.
Method 1: Use the Command Prompt
The powerful command prompt can also repair the problematic SD card file system, even though it may not be the most user-friendly way. Here are the details of how to use the prompt on Windows. Prompt for Mac OS and Linux systems has some differences in operation.
For Windows:
- Hit Win + R keys
- Type “cmd” in the dialogue box and click “OK.”
- Copy and paste the command prompt “chkdsk [driver letter]: [/f]” to the new window
- Hit “enter” and wait for the process completed
For Mac:
- Plug in your SD card to your Mac.
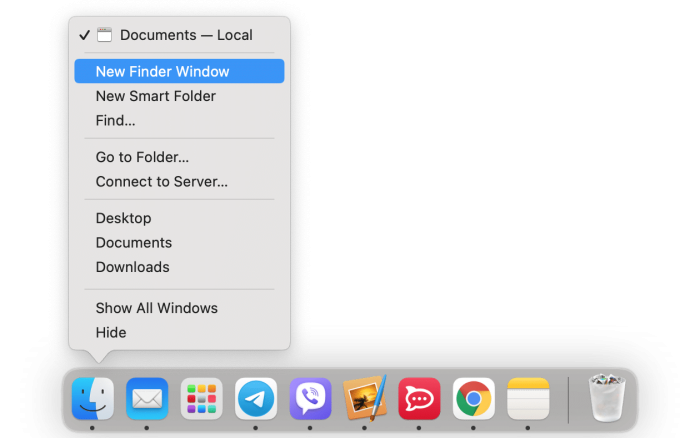
- Go and right-click the “File” menu on the desktop
- Choose “New Finder Window” on the properties menu
4. Click “Applications” in the new window
5. Scroll down and select “Terminal.app”
6. Type in “diskutil list” in the new pop-up and press “Enter”.
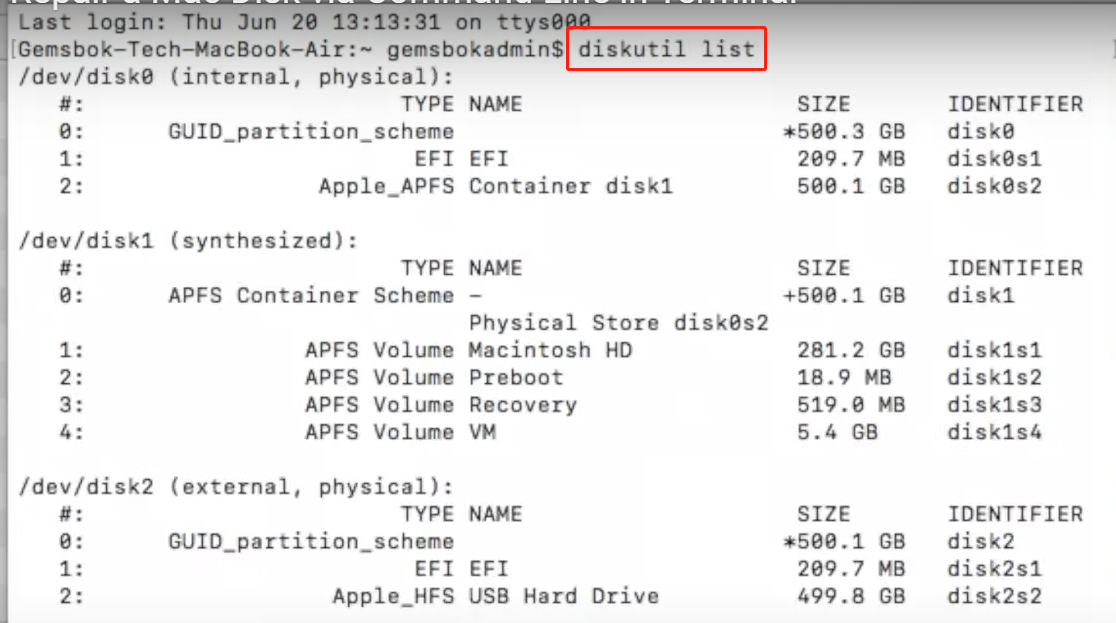
7. All the storage devices connected to your Mac will be listed. Take note of the identifier of your SD card, like “/dev/disk2”.
8. Copy and paste “diskutil unmountDisk /dev/disk2 “, replacing 2 with the identifier of your SD card.
9. Copy and paste “sudo fsck_exfat -y /dev/disk2”, replacing 2 with the identifier of your SD card.
10. Pop in your admin password in the new pop-up and hit”Enter”
11. After the repair process is completed, type in “diskutil mountDisk /dev/disk2” and replace 2 with the identifier of your SD card to remount the SD card.
See the tutorial video by clicking the link below
For Linux:
1. Plug in your SD card to your computer.
2. Press CTR+ALT+T at the same time.
3. Copy and paste “sudo fdisk -l” in the Terminal and hit “enter” to see the all storage devices. Remember the identifier of your SD card.
4. Copy and paste “sudo umount /dev/sdx2” and change 2 into the identifier of your SD card.
5. According to the type of file system of your SD card, input “sudo dosfsck -a /dev/sdx2” for FAT or “sudo fsck.ext4 /dev/sdx2” to repair your SD card.
6. Wait until the repair process is complete, and type in “diskutil mountDisk /dev/disk2”, replacing 2 with the identifier of your SD card to remount the SD card.
Method 2:Try the professional recovery software
Although the command prompt is efficient, lost or hidden data can still be lost. If you find the crucial data still missing after the execution of the command prompt, a professional recovery tool can help you find your data, even if the SD card is corrupted or RAW.
ONERECOVERY is a powerful tool to retrieve the lost data. The dual-scan feature will significantly enhance the possibility of complete data protection and salvage of the lost data. Besides, it supports over 1000 files on all types of memory cards.

Let’s see how to use it to recover the data in your SD card.
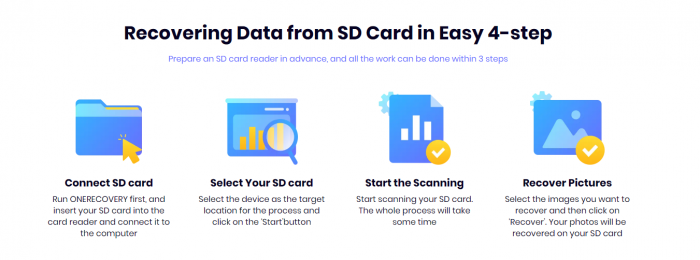
1. Download ONERECOVERY and launch it
2. Navigate to “External drives” and select your SD card
3. The scanning will begin after you click the icon of your SD card
4. Once the scan is finished, choose the files you want and click “Recover” on the right side
5. Choose the location to store the recovered files in the new pop-up
6. Click “Recover”
Method 3: Format the SD card
This method is ideal for an SD card with no critical data, but it serves as the last straw as formatting will wipe off all the files and folders in the SD card. Therefore, backing up the data to a third device before formatting is necessary.
How to format an SD card:
1. Plug the SD card into a computer.
2. Open the taskbar and input “Folder Explorer” or press the “Win” icon + “E” simultaneously
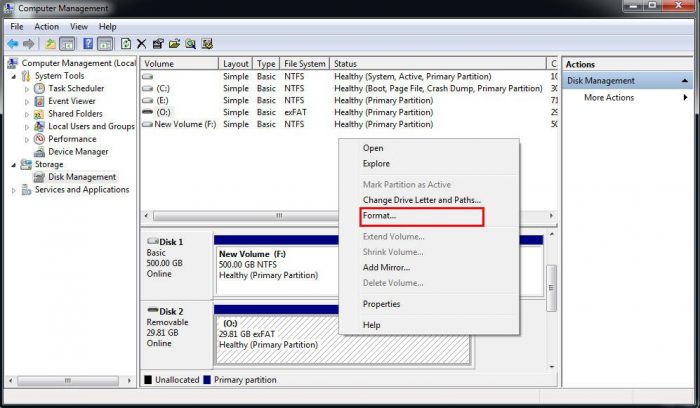
3. Click “Disk Management” and find your SD card
4. Right-click the device and choose “formatting” in the properties menu
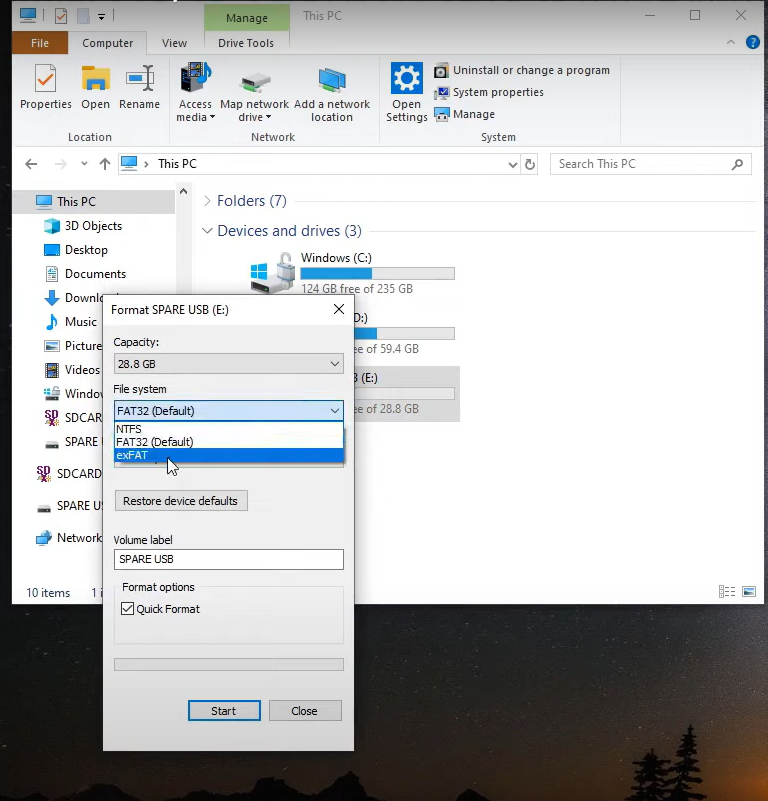
5. In the newly pop-up dialogue window, click the File system drop-down and choose “FAT32.”
6. You can set the file system type, volume label, and quick format.
7. Click “start” to begin the formatting.
8. Click “OK”
Closing thought
If you have attempted all the above methods, the SD card still needs to be readable or non-functional; replacing it with a new one is recommended. Although an unreadable SD card is troublesome, you can always find a solution in this article to put yourself at peace, whether in repairing the unreadable SD card or recovering the data.
I’m a tech enthusiast specializing in computer repair and data processing. Outside of fixing gadgets, I love penning articles on computer science. Currently, I’m diving deep into AI and data recovery tech. I’m all about staying on top of the latest in these fields. Excited to bring my passion and skills to the table and collaborate on cool projects!